![- Wax Seal Stamp - [Royal Wax Seals]](http://img.staticdj.com/5f77bf6ad5deadc08da43c7ebb6e473f_600x.png)
HOW TO USE A WAX SEAL – A SIMPLE STEP-BY-STEP GUIDE
Want to learn how to create super fancy and old-fashioned wax seals? It’s easy! Here’s everything you need to learn how to use a wax seal.
You absolutely love wax seals, but you don't know how to make them, or what you need to do it. Fear not, wax seals are simple and we are going to take you through proper planning Ag, products, process, and perfecting to make sure your wax seals are absolute envelope show-stoppers.
HOW TO USE A WAX SEAL WITH WAX STICKS OR WAX BEADS AND A SPOON?
STEP 1: PREP
Once you light the wick on your wax stick, things will move quickly. So make sure you’re ready! Get your envelope in front of you, attach your seal head to the handle, and grab your lighter.

STEP 2: LIGHT
Light your tea-light or candle.

STEP 3: MELT
Add three or four wax beads into your spoon and hold about an inch above the flame. Don’t put the spoon directly in the flame because you will get a black sooty residue on the underside of the spoon, which might end up in the wax. Hold the spoon over the flame for a minute or two until the beads have all melted.

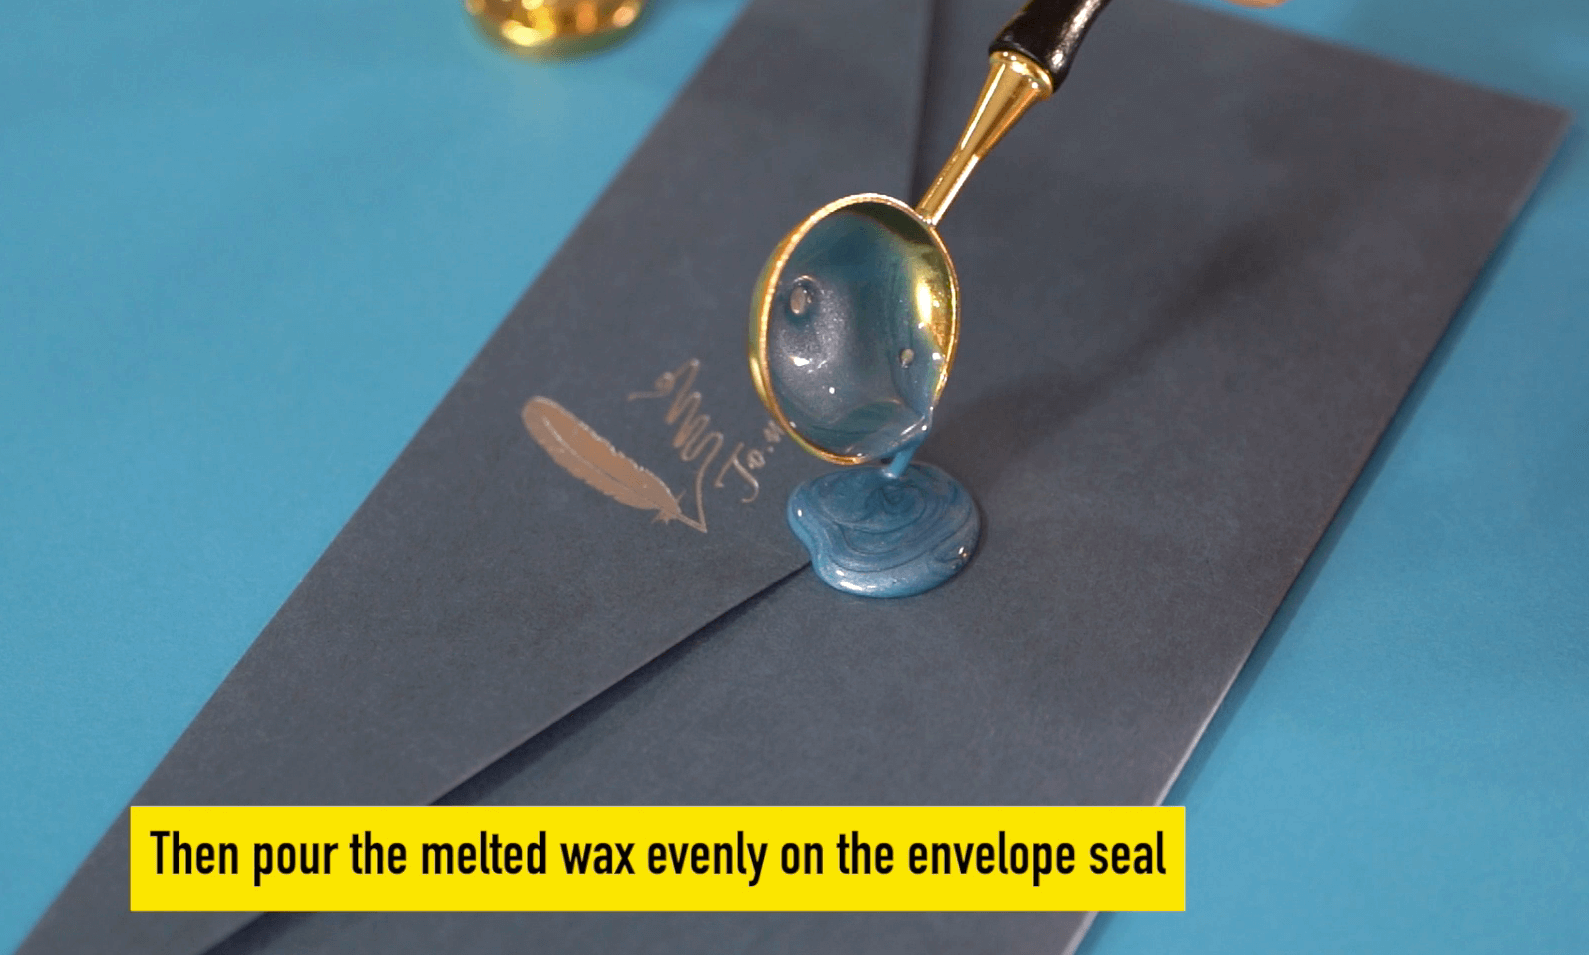
STEP 4: POUR
Pour the contents of your spoon over the lip of the envelope, getting as much onto the paper as possible. Set spoon aside (but mind that it’s still hot).
STEP 5: STAMP
Check that your stamp is oriented correctly. Then push the stamp into the pool of wax, taking care to get wax excess all around the stamp.

STEP 6: REST AND REMOVE
Allow the wax to cool for 5~7 seconds or so, then gently pull the stamp away to reveal your wax seal.

DON’T FORGET TO CLEAN UP
If you want your materials to last, then you need to make sure to properly clean all of your tools. Cleaning a wax seal set can be a bit tricky, so make sure to check out how to clean a wax seal spoon.
WAX SEALS AIN’T SO HARD
This old-fashioned method of sealing envelopes might look extra fancy, but it’s not hard at all to pick up. With only a few materials, you can begin sending special letters in no time. Wax seals are perfect for weddings, baby showers, Halloween parties, or plain ol’ letters. You will delight your recipients when they pull your envelope out of their mailbox. Give this wax seal tutorial a try and see just how fun it can be!
Glue Gun Method
The glue-gun method is the staple of making wax seals. It gives you enough flexibility to get creative while not being overly time-consuming. For a project with the glue gun method you will need:
- Wax Stamp
- Sealing Wax Sticks (approx. 40 seals per 5 pack)
- Low-Temperature Glue Gun (0.44" diameter)
- Lunch Kit Ice pack (a zip-lock bag full of ice works as well)
- Microfiber Cloth
- Silicone Mat (typically found in baking/cooking aisles)
Process, step by step to beautiful wax seals
Now comes the fun part, actually making your wax seals. We recommend gathering all your supplies before you start, and clearing your workspace as sealing can be messy. To get started, chill your wax stamp on ice, and make sure you have a silicone mat to place your spoon or sealing wax gun down on.
Heat Up
 Pour
Pour Press
Press

Wipe the head of your wax stamp off with a microfiber cloth or your palm, then press into sealing wax. Leave for 5 - 10 seconds then gently peel your stamp away. If it sticks, allow more time to cool. If there is a lot of sticking, try letting your sealing wax cool a bit before stamping.