![- Wax Seal Stamp - [Royal Wax Seals]](http://img.staticdj.com/5f77bf6ad5deadc08da43c7ebb6e473f_600x.png)
![International Commercial Express - DHL/UPS/FedEx (5~10 Working Days) - Wax Seal Stamp - [Royal Wax Seals]](http://img.staticdj.com/bc5a66f2242bcd77b3bcafe3e65bc1ba_1080x.jpg)
![International Commercial Express - DHL/UPS/FedEx (5~10 Working Days) - Wax Seal Stamp - [Royal Wax Seals]](http://img.staticdj.com/7402faf2f36e6ea3510606c2a9d24069_1080x.jpg)
![International Commercial Express - DHL/UPS/FedEx (5~10 Working Days) - Wax Seal Stamp - [Royal Wax Seals]](http://img.staticdj.com/bc5a66f2242bcd77b3bcafe3e65bc1ba_100x.jpg)
![International Commercial Express - DHL/UPS/FedEx (5~10 Working Days) - Wax Seal Stamp - [Royal Wax Seals]](http://img.staticdj.com/7402faf2f36e6ea3510606c2a9d24069_100x.jpg)
Recently, we have received some special needs, and we are anxious to receive the order in about a week.
We attach great importance to this. Therefore, it was decided to increase the fastest logistics solution within its capacity.

Delivery Time= Processing Time + Shipping Time
Processing Time (2~5 WORKING DAYS)
Shipping Time (3~5 WORKING DAYS)
Due to the Covid-19 pandemic, you may experience delivery delays but we are committed to getting your parcel to you as soon as possible.
Before you choose this service, please note the following terms of service:
1. When our system recognizes that your order contains this service, it will give priority to processing your order;
2. If your order contains customized items, we will produce them for you as quickly as possible, which will still consume 1~2 working days;
3. Since our warehouse is in Hong Kong and our production equipment is also in Hong Kong, your goods will be shipped from the Hong Kong warehouse;
4. For logistics channels, we give priority to DHL. When DHL channels cannot guarantee timeliness, we will change other channels to ensure the timeliness;
5. Since commercial express delivery requires special customs clearance and special delivery, we require you to provide a normal phone number for delivery to contact you.
6. Due to the impact of the epidemic, we cannot guarantee that your order will be delivered 100% on time. We will work 120% to make your order delivered on time.
* REST OF WORLD: Other countries except US/CA/AU/EURO/North Korea/Syria/Iran.
* Express Shipping cannot deliver to P.O. boxes or military addresses. We could only ship to P.O. Boxes and military addresses (APO, FPO) address via the Standard Shipping method.
* Above shipping times are estimates quoted by our courier companies, so Royalwaxseals cannot be liable or held responsible for any delays after dispatch. Delays do happen occasionally due to uncontrollable factors, but please be assured that Royalwaxseals will do our best to limit any inconveniences that may arise.
*Royalwaxseals temporarily does not support transactions in North Korea, Syria, and Iran.
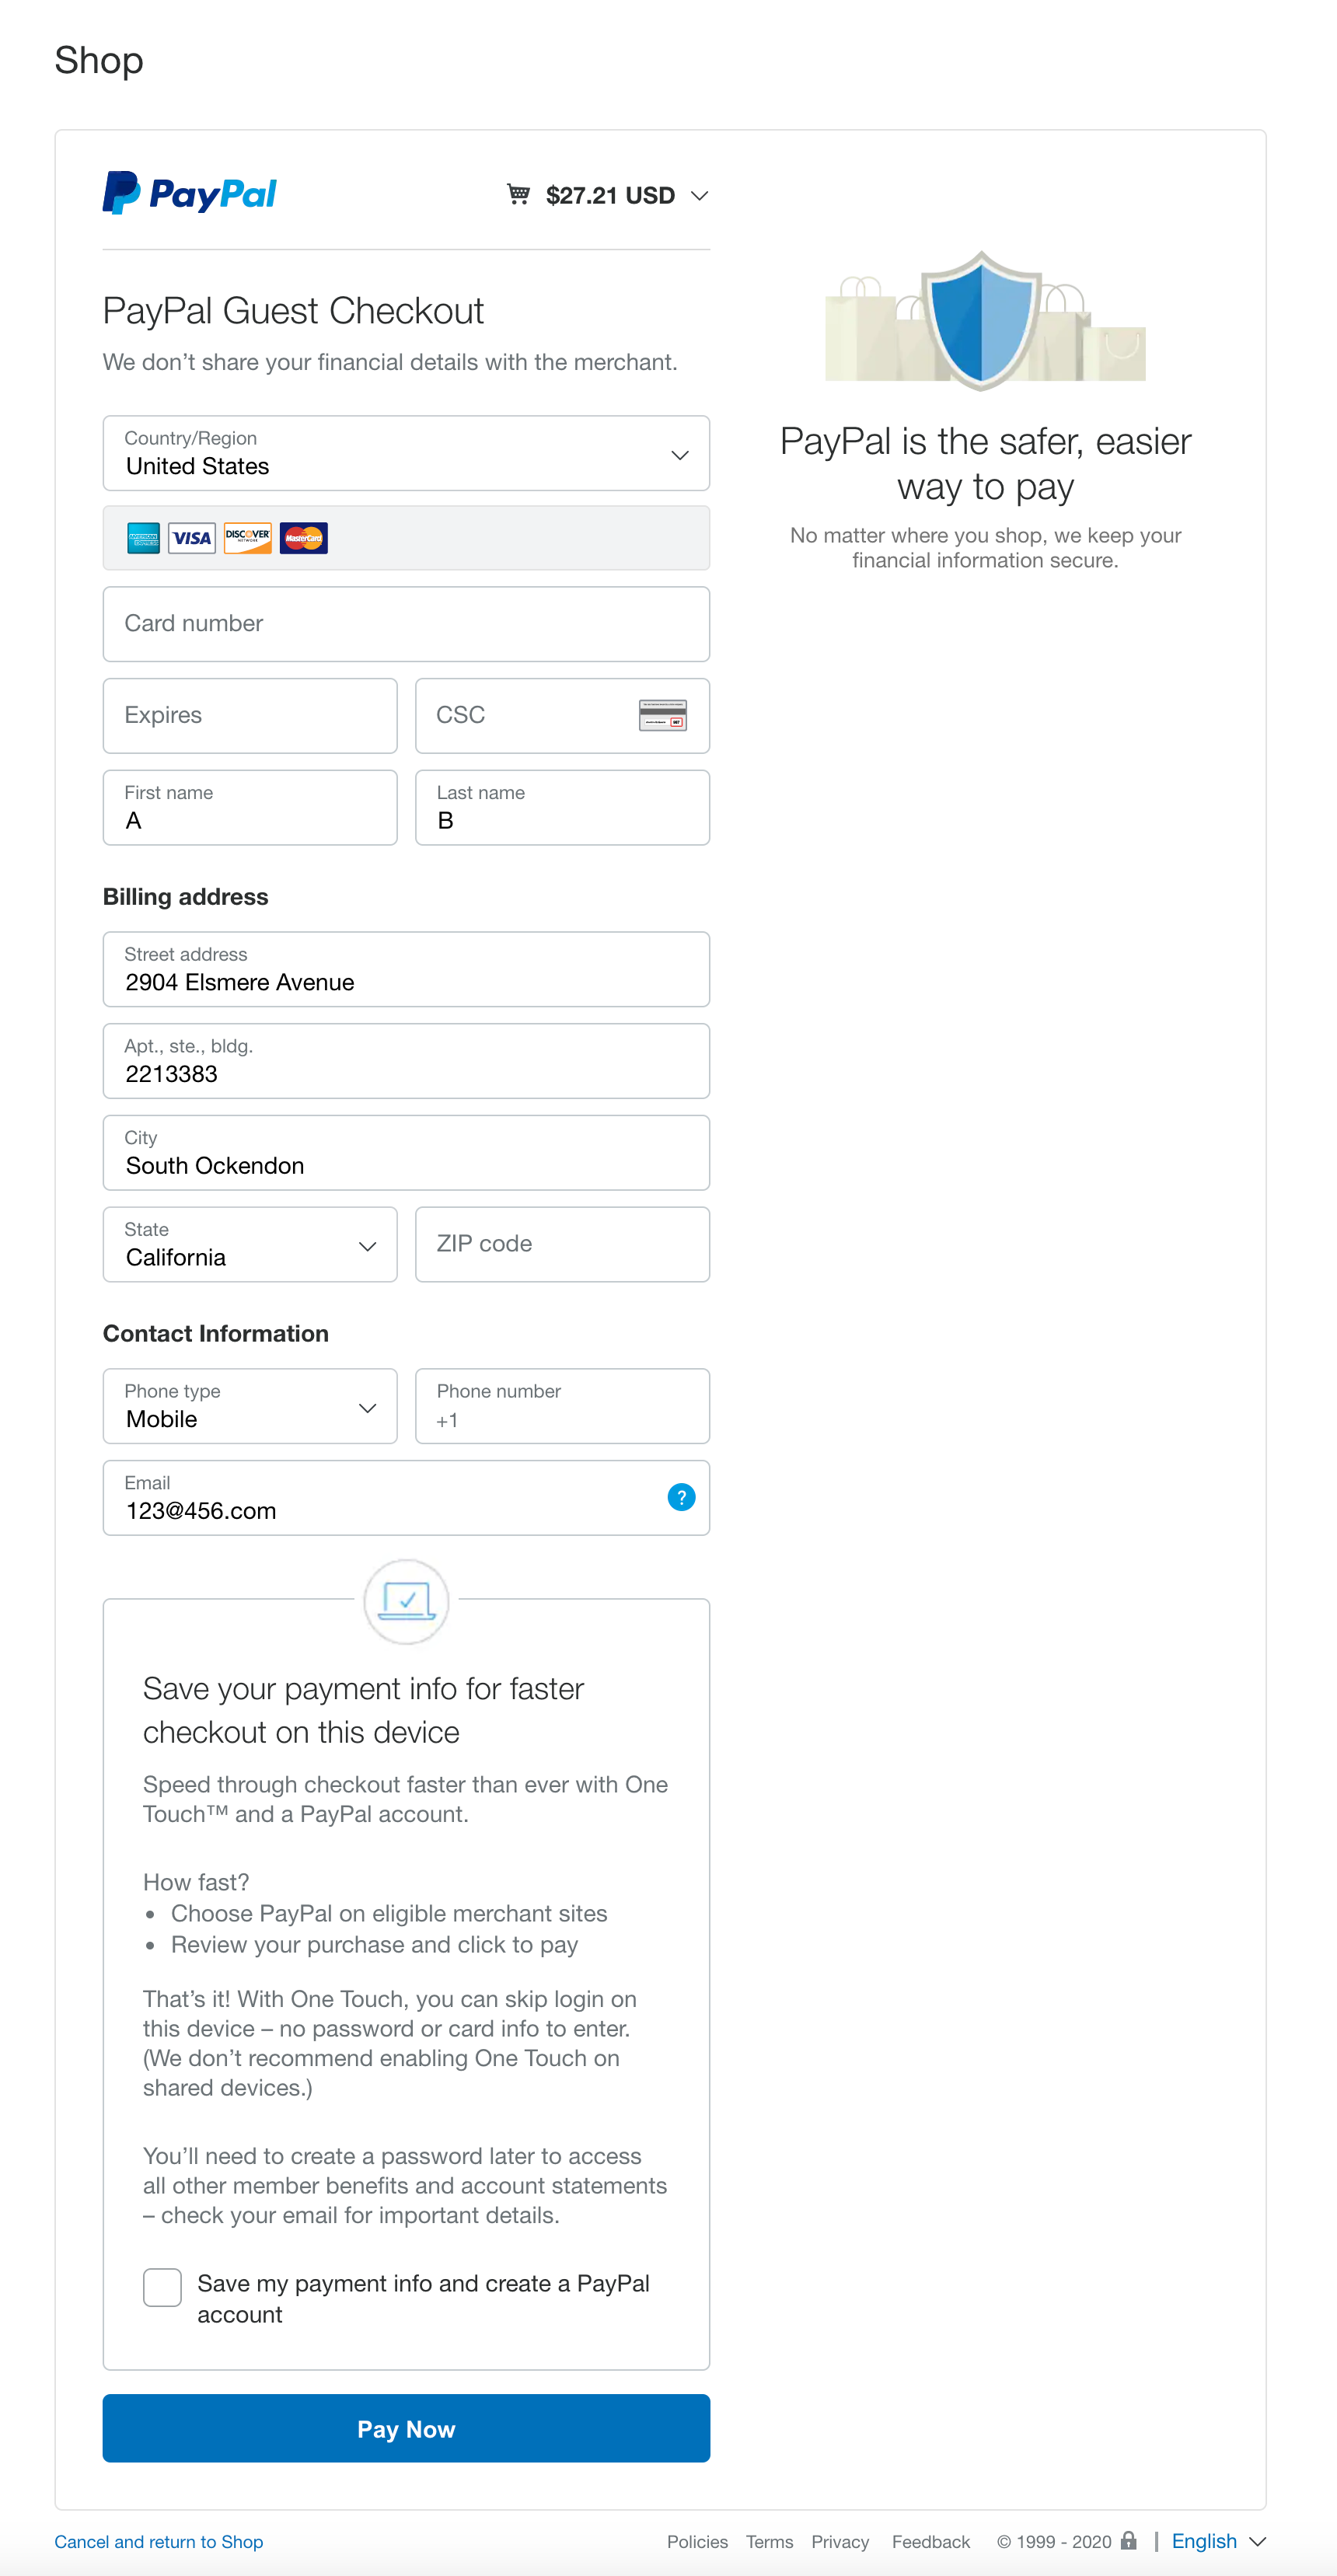
How to pay by credit card in PayPal?
When you do not have a PayPal account and want to pay with a credit card, you can follow this process:
Step 1. At the last step of checkout, select PayPal as the payment method for the complete order.

Step 2. On the PayPal payment page that pops up, find the Pay with Credit or Debit Card button and click to enter the next step.

Step 3. Then you will see the credit card payment page, after completing the requirements, see the bottom of the page, click Pay Now to complete the payment.